
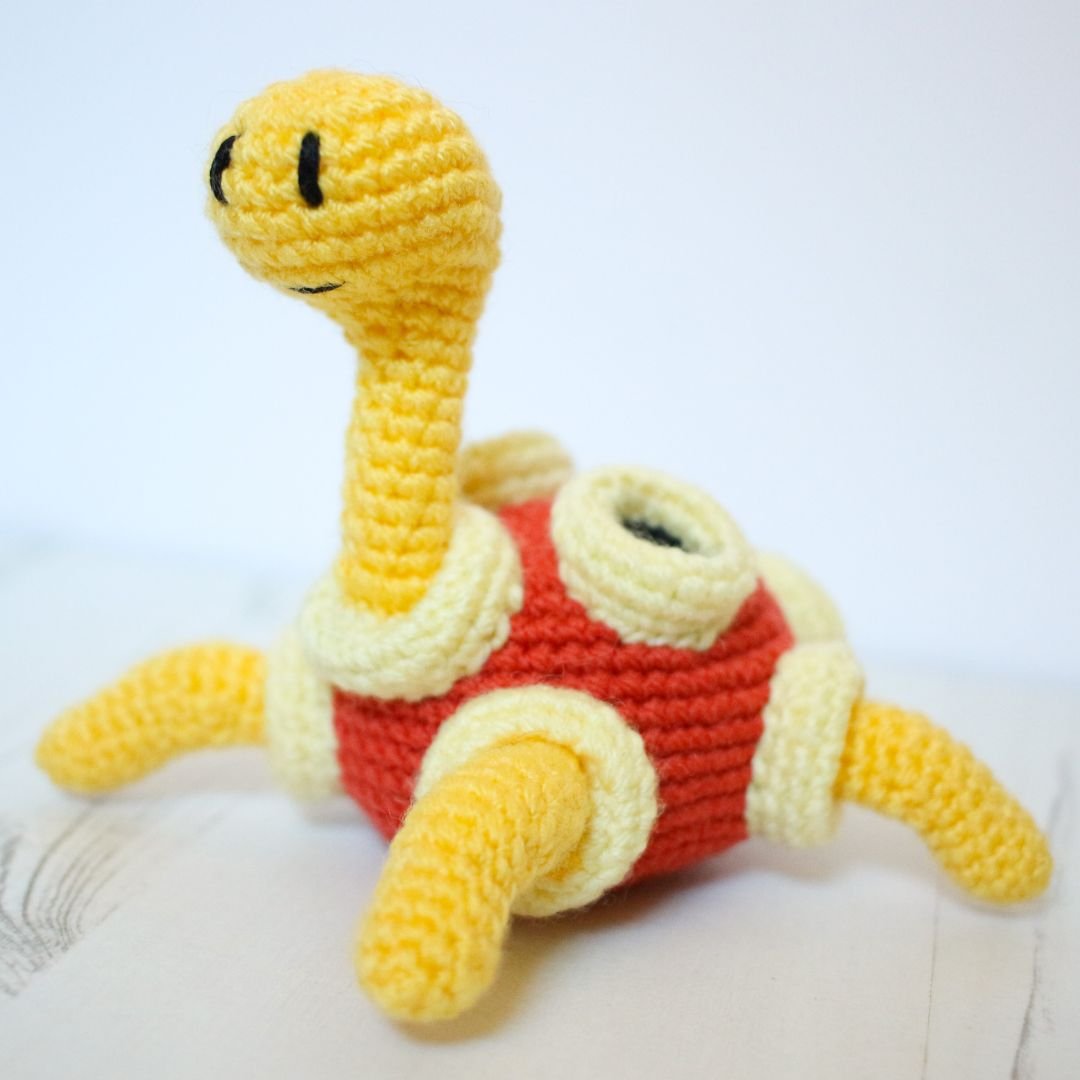
Shuckle Amigurumi Pattern
Happy Sunday everyone!
I finally have a new Pokemon pattern to share with you - Shuckle!
Before we get started on the pattern here are a few handy details:
Shuckle is approximately 9cm from top down. The body is 6cm in width, and approximately 6.5cm from front to back. The legs are approximately 4.5cm long.
Weight: 40grams (this includes all materials used to make Shuckle)
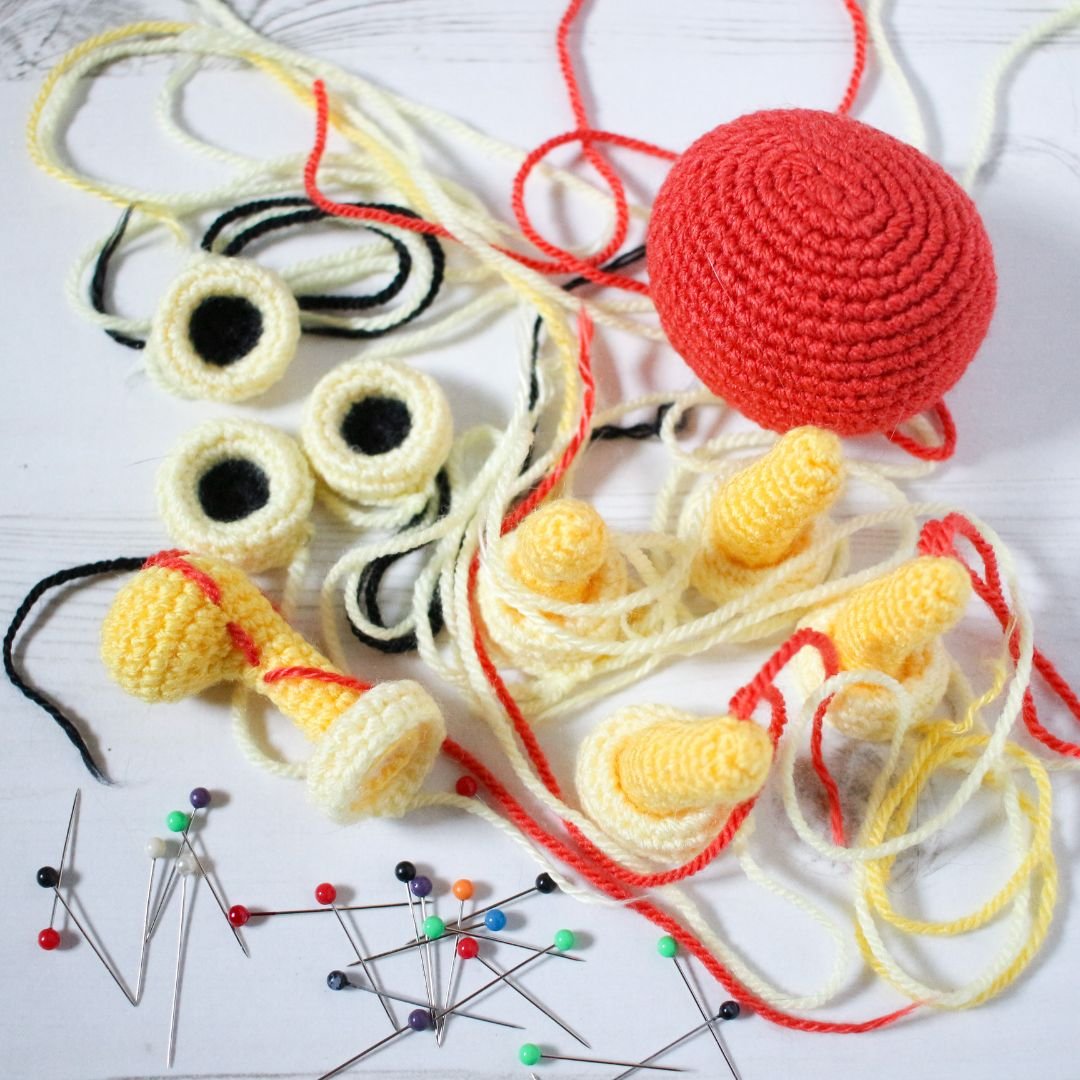
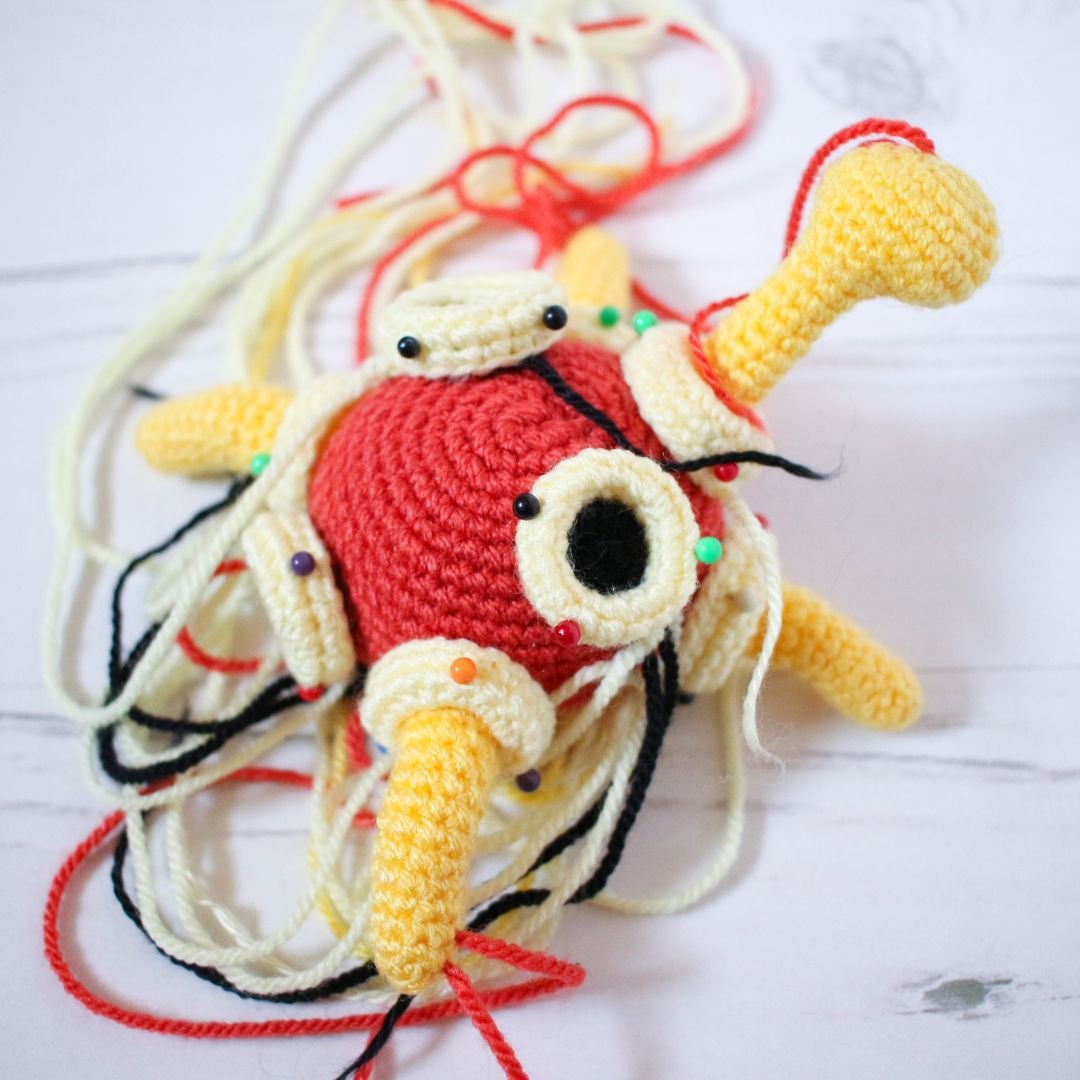
Finish all the pieces before assembling Shuckle. I would recommend using a photo of Shuckle as reference for best possible outcome. I normally take a screenshot from PokemonGo from various angles which I refer back to. Pin all the pieces in place before sewing to make sure it looks right. Adjusting a few millimeters here and there can make a difference if it doesn’t look quite right to you.
YARN & HOOK
2mm hook
Stylecraft Special DK in Citron, Lemon, Tomato and Black
Black embroidery floss
Polyester toy filling
Pins to place pieces before sewing together
Darning needle
Stitch markers (I prefer using scrap yarn as “stitch markers”)
STITCHES & ABBREVIATIONS – UK ENGLISH
ch chain
dc double crochet
fldc front loop double crochet; working your double crochets in the front loops only
bldc back loop double crochet; working your double crochets in the back loops only
st/sts stitch/es
inc increase; dc 2 in one st
dec decrease; insert hook in the front loop of the next two sts, yarn over, pull through both loops, y.o. and pull through remaining two loops. This is also referred to as an invisible decrease.
y.o. yarn over
THE PATTERN
HEAD & NECK
Yarn: Citron and Lemon
Piece is worked top down. Starting with Citron:
Round 1: dc 6 in Magic Ring (6)
R2: inc in all sts around (12)
R3: (inc x 3, dc 3) x 2 (18)
R4: (dc, inc) x 3, dc 12 (21)
R5: (dc 2, inc) x 3, dc 12 (24)
R6: (dc 3, inc) x 3, dc 12 (27)
R7-8: dc 27
R9: dec, dc 11, dec x 7 (19)
Stuff the head
R10: dec, dc 9, dec x 4 (14)
R11: dc 14
R12: dec, dc 8, dec x 2 (11)
R13: dec, dc 5, dec x 2 (8)
R14-21: dc 8
R22: inc x 8 (16)
Change to Lemon. And just a little reminder to check the Stitches & Abbreviation section at the start of this post.
R23: fldc 16
R24: dc 16
R25: (dc 3, inc) x 4 (20)
R26-27: dc 20
Fasten of and leave a long end to sew the piece onto body.
Stuff the neck slightly a little bit at a time. I like to use the back of my crochet hook to push the stuffing in. Once you’re happy with the amount of stuffing go ahead and push the Citron part of the neck into the Lemon to create the edging. The fldc of R23 should help indicate how far to push it. To avoid being able to pull the neck back out of the edging stitch it in place, just a few stitches here and there will do.
SHELL / BODY
Yarn: Tomato
The piece will be worked top down.
ch4 – we will be working around the chains to make an oval shape. The short sides are the front and back. Imagine the above chains are the spine... if shells had spines...
Round 1: inc in second ch from hook, inc in the next two chains. Continue to the other side of the chains loops: inc in the three chains (12)
R2: inc, dc 3, inc x 3, dc 3, inc x 2 (18)
R3: inc x 2, dc 6, inc x 3, dc 6, inc (24)
R4: (dc 3, inc) x 6 (30)
R5: (dc 2, inc, dc 2) x 6 (36)
R6: (inc, dc 5) x 6 (42)
R7: (dc 3, inc, dc 3) x 6 (48)
R8: 48
R9: (dc 7, inc) x 6 (54)
R10-14: dc 54
R15: (dc 7, dec) x 6 (48)
R16: dc 48
R17: (dc 3, dec, dc 3) x 6 (42)
R18: (dc 5, dec) x 6 (36)
R19: (dc 2, dec, dc 2) x 6 (30)
Stuff the shell
R20: (dc 3, dec) x 6 (24)
R21: (dc, dec, dc) x 6 (18)
R22: (dc, dec) x 6 (12)
Fasten off. Last chance to add a bit of stuffing if needed. Fold the last round together flat (six sts on either side), and whip st the sides together to mirror the chains at the top of the shell.
LEGS
Yarn: Citron and Lemon
Make 4
Starting with Citron:
Round 1: dc 5 in Magic Ring (5)
R2: inc in all sts around (10)
R3-6: dc 10
R7: dc 6, bldc 4 (10)
R8: dc 6, go back one round working in the unworked front loops: fldc 4 (10)
R9: dc 6, bldc 4 (10)
R10: dc 6, go back one round working in the unworked front loops: fldc 4 (10)
These last four rounds (R7-10) create a slight bend in the leg. Before we move on I just wanted to check in… Are you reading this somewhere other than www.loopycathrine.com? Did you pay for it? Then you have been dooped. This is a free pattern on the above mentioned website only. Please head over there and let me know where you found it, report the seller on the platform you purchased the pattern and claim your money back. Thank you!
R11-13: dc 10
R14: (dc 2, inc x 3) x 2 (16)
change to Lemon
R15: fldc 16
R16: dc 16
R17: (dc 3, inc) x 4 (20)
R18-19: dc 20
Fasten of and leave a long end to sew the piece onto the shell.
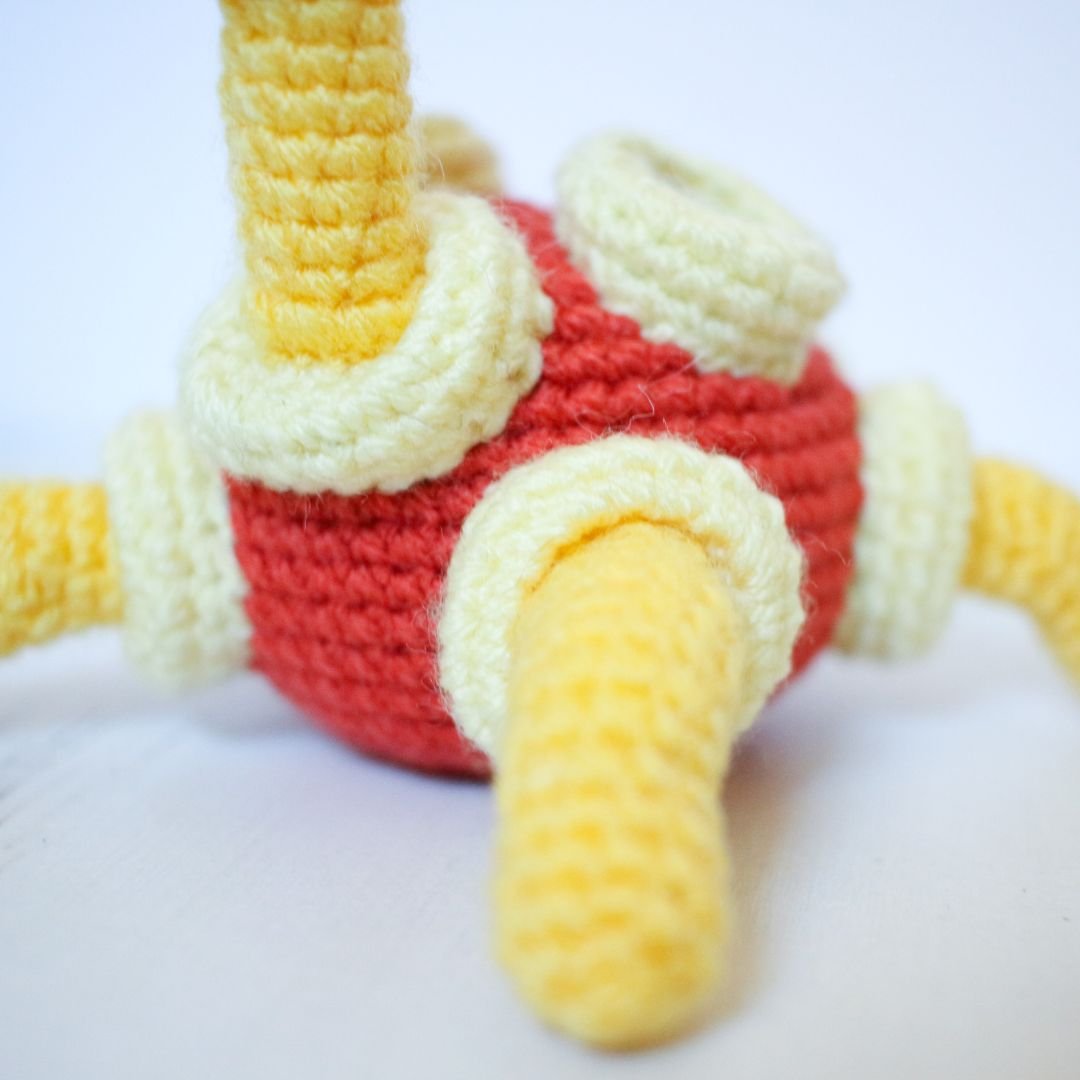
Stuff the leg slightly a little bit at a time. Once you’re happy with the amount of stuffing go ahead and push the Citron part of the leg into the Lemon part to create the edging. The fldc of R16 should help indicate how far to push it. To avoid being able to pull the leg back out of the edging stitch it in place, just a few stitches here and there will do.
“HOLES”
Yarn: Black and Lemon
Make 3
Round 1: dc 8 in Magic Ring (8)
R2: inc in all sts around (16)
change to Lemon
R3: bldc 16
R4: dc 16
R5: (dc 3, inc) x 4 (20)
R6-7: dc 20
Fasten of and leave a long end to sew the piece onto the shell. Push the Black part of the piece into the Lemon to create the “hole” with Lemon edging.
EYES & MOUTH
I like to leave these details to the very end once all the pieces are attached. Create the eyes and smile using Black embroidery floss. If you’re referring back to another photo or screenshot from the game, cartoon etc, you will see there are also some much smaller specks of Lemon in a few places on the shell. As you can see, I haven’t done this to mine yet, but this would be a good time to add those details if you want to.
THANK YOU & ENJOY!
Please do not reprint, sell or claim the pattern as your own.
I’ve loved creating this pattern so please don’t forget to credit the pattern designer.
I would love to see your creations! Please remember to tag me in your social media posts and use the following hashtag #loopycathrineamigurumi
For any questions about the pattern, please comment below and I will do my best to help.