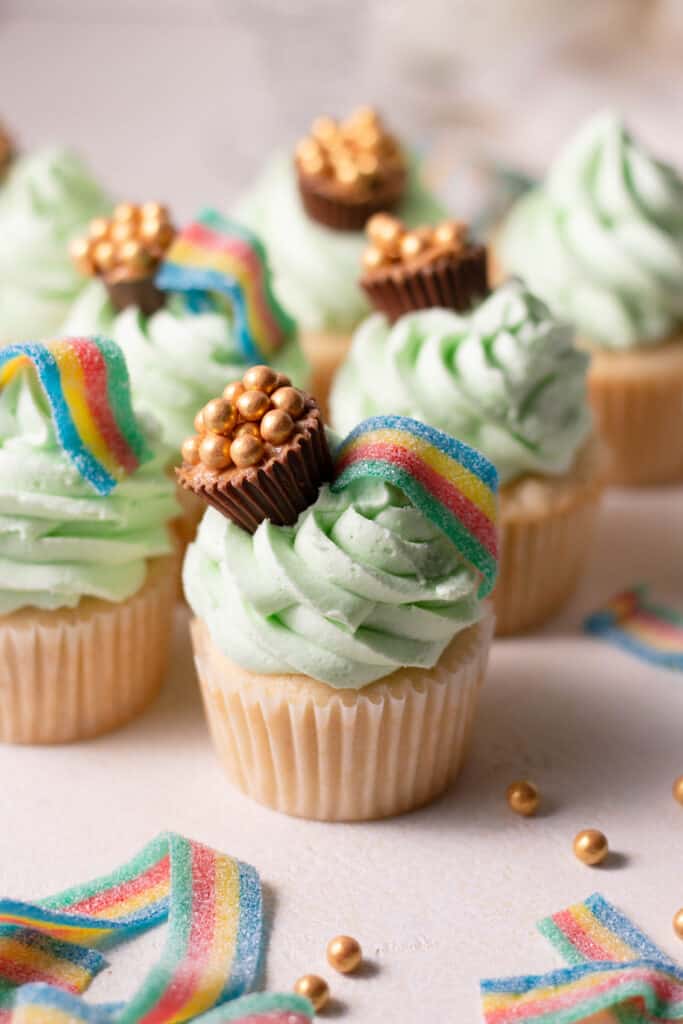
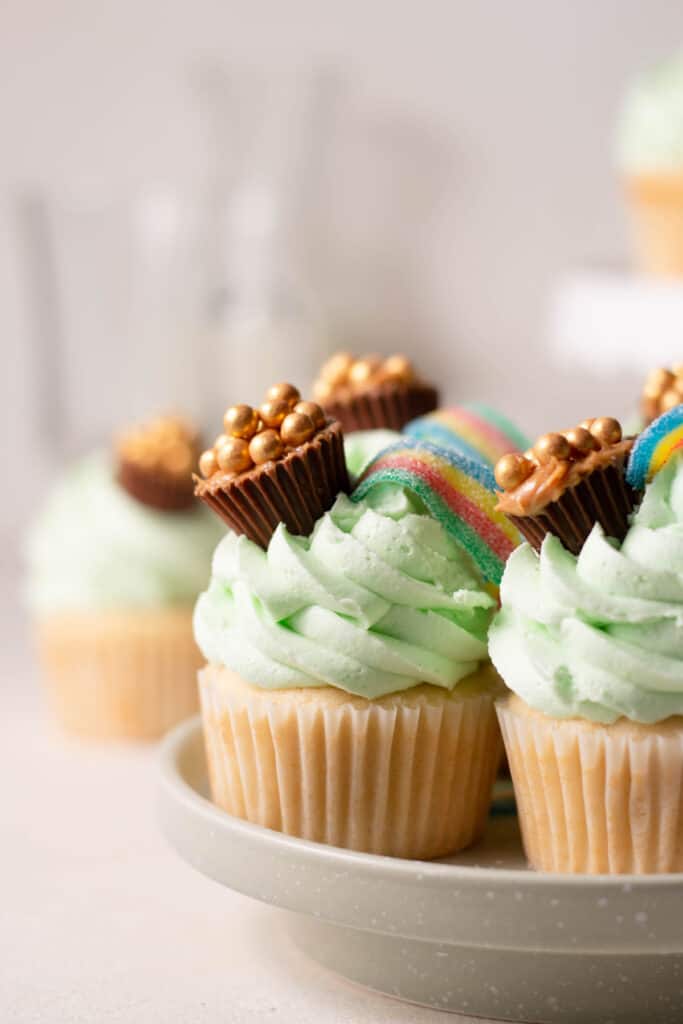
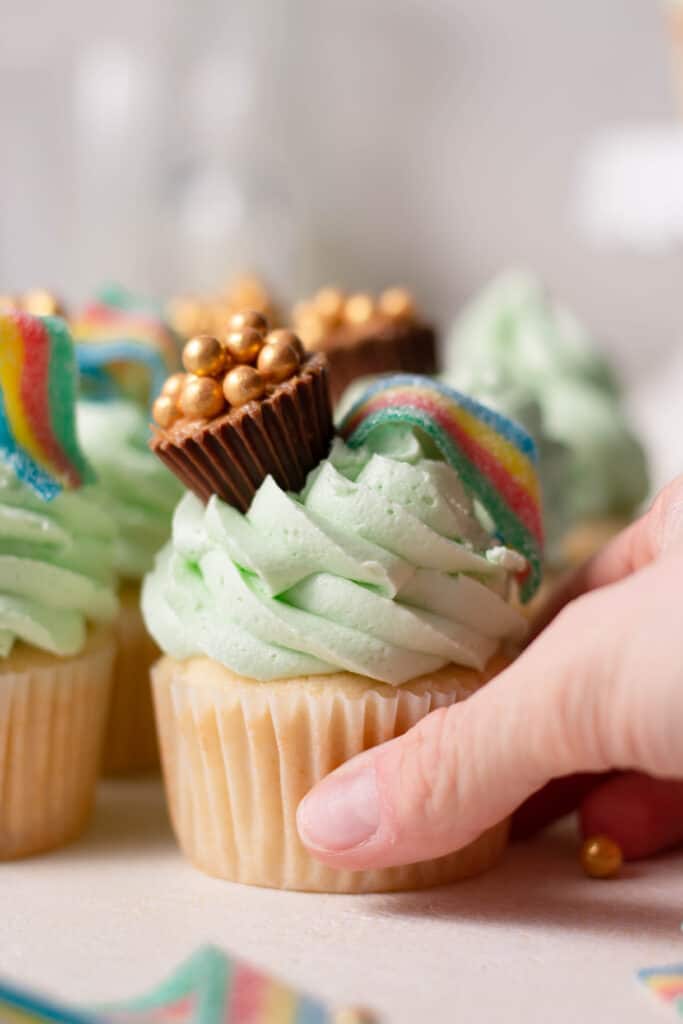
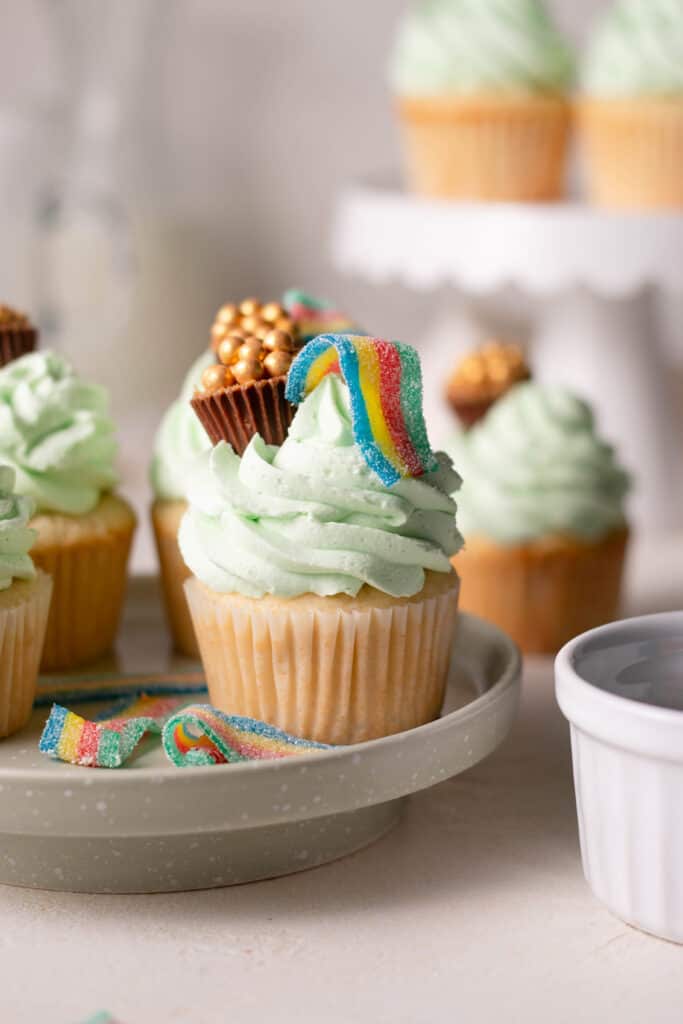
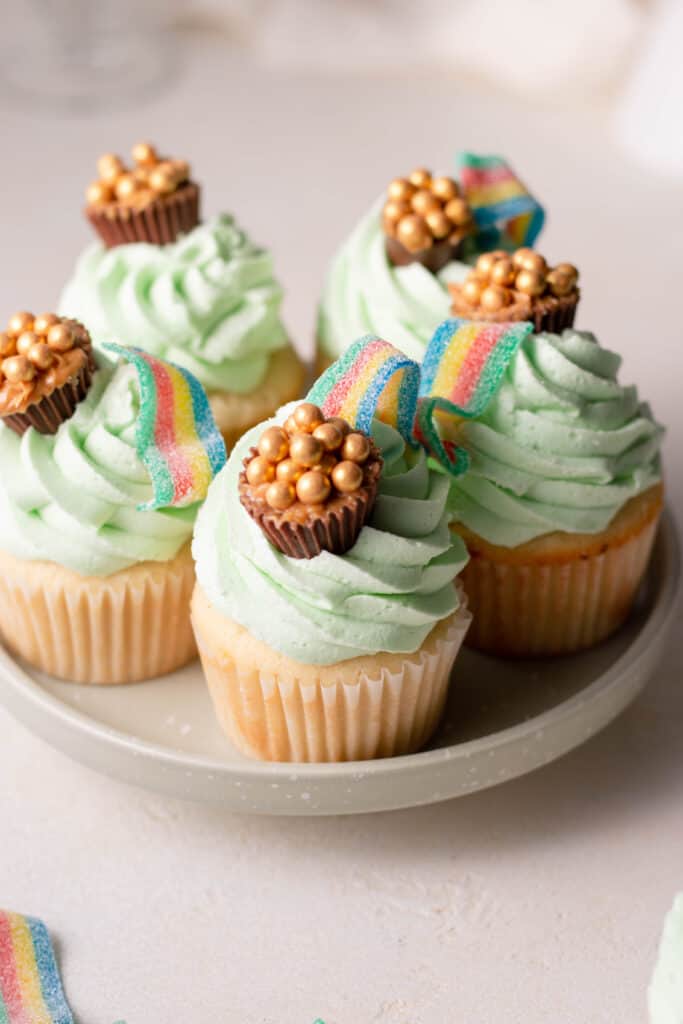
These St. Patrick’s Day Cupcakes are the perfect way to celebrate. Topped with a pot of gold and a rainbow, what’s not to love?!
St. Patrick’s Day Cupcakes
These are not like what I usually share here on the blog, but I LOVE these cupcakes. I’m not really much for St. Patrick’s Day parties and such, but if I were going to one this is definitely what I’d be bringing. They’re so festive and fun, I might just have to come up with an excuse to throw a party this year so I can bring these along with me lol.
What are St. Patrick’s Day Cupcakes?
I debated calling these “pot of gold” cupcakes because if you couldn’t already tell–that’s exactly what they look like!
Something funny about these cupcakes is that I actually loooove sour rainbow strips. They’re probably my favorite candy–either that or Mentos. When I was pregnant with Owen sour things were pretty much all I craved. I didn’t have the chocolate fetish that a lot of people get–you could just always see adding rainbow strips to my cart at the grocery store when I was there.
I actually developed this recipe back when I was pregnant, which is not surprising because these sour rainbow strips make the perfect addition to these St. Patrick’s Day Cupcakes!
Equipment you may need
- Stand mixer: this is the one I have and I love it! I’ve had it for years now and I’ve never had any trouble with it. You definitely don’t “need” a stand mixer for this recipe, but it sure does make life a lot easier.
- Muffin tin: this is a need, and probably one of the most-used items in my kitchen. I bake a lot of muffins & cupcakes (you can check them out here and here), so I put mine to good use. I love this one because the light color prevents things from burning.
- Cupcake liners: always good to have on hand 🙂
- Measuring cups/spoons: I’ve been linking these in all of my posts because I love them SO much! They are beautiful and look just like some other expensive ones on the market (but wayyy cheaper).
- Mixing bowls: I love these glass mixing bowls from Amazon. They’re especially perfect for food photography.
Ingredients for these cupcakes
- Unsalted butter
- Vegetable oil
- Granulated sugar
- Large egg
- Pure vanilla extract– you’re welcome to substitute the extract with vanilla bean paste, it’s a 1:1 ratio!
- Cake flour – all of my recipes are tested using King Arthur flours, so I recommend you use the same!
- Kosher salt – I use Diamond crystal kosher salt always.
- Baking powder
- Buttermilk
- Golden candy pearls
- Miniature peanut butter cups
- Sour rainbow strips
- Heavy cream
- Powdered sugar

Tips for St. Patrick’s Day Cupcakes
- Make your decorations before! I like to make the pot of gold and get my rainbow strips before I do anything else. Then, I make my cupcakes and the buttercream frosting while the cupcakes are baking.
- Use room temperature ingredients. This is across the board for the whole recipe. It’s so important both with cupcake batter and when making a buttercream–room temperature ingredients are your friends. I like to set my butter and eggs out the night before so I don’t have to deal with getting them down to room temperature before I begin.
- Don’t over-fill the cupcake liners! If you over-fill these cupcakes, your batter will flatten out at the tops, and you won’t have those nice domed tops. I recommend shooting for 2/3-full, as I’ve found that to be the sweet spot for these.
If you bake these cupcakes, be sure to tag me @sarahsdayoff so I can see them! I hope you all WOW your friends with this recipe at your St. Patty’s Day party, and don’t forget to enjoy them!!
Love,
Sarah
“Be still, and know that I am God! I will be honored by every nation. I will be honored throughout the world.” -Pslams 46:10-
St. Patricks Day Cupcakes
Ingredients
- 1/4 cup unsalted butter at room temperature
- 1/4 cup vegetable oil
- 1 cup granulated sugar
- 1 large egg at room temperature
- 1 Tbsp pure vanilla extract
- 1 1/2 cups cake flour
- 1/2 tsp kosher salt
- 1 tsp baking powder
- 2/3 cup buttermilk* at room temperature
- Golden candy pearls
- Miniature peanut butter cups
- Sour rainbow strips
For the Frosting
- 1 1/2 cups unsalted butter at room temperature
- 2 Tbsp heavy cream at room temperature
- 2 tsp pure vanilla extract
- 1/8 tsp kosher salt
- 5 cups powdered sugar
Instructions
For the Vanilla Cupcakes
- Preheat oven to 350°F. Line a 12-cup muffin tin with cupcake liners. Whisk flour, baking powder, and salt in a bowl; set aside.
- Beat butter, oil, and sugar in the bowl of a stand mixer fitted with the paddle attachment on high speed 2 to 3 minutes or until color turns a pale yellow (use a large bowl and hand mixer or whisk, if you'd like to).
- Beat in egg and vanilla.
- Alternately beat in dry ingredients and buttermilk (3 additions of dry ingredients, 2 additions of buttermilk), starting and ending with the dry ingredients.
- Scrape down the bowl, and beat 20 seconds more on medium speed. Divide batter between muffin cups, filling each about 2/3-full.
- Bake 18 to 22 minutes or until the cupcake springs back when you touch the top or a toothpick inserted into the center of a cupcake comes out clean.
- Cool completely in pan before transferring to a wire rack to cool completely before frosting.
For the Frosting
- Beat butter in the bowl of a stand mixer fitted with the paddle attachment 3 minutes or until color turns a pale yellow.
- Beat in cream, vanilla, and salt until smooth. Gradually beat in powdered sugar. Once all the sugar is added, beat on high 5 minutes. Stop the mixer, scrape down the sides of the bowl, and beat an additional 5 minutes.
- Add 2 to 3 drops of food coloring and beat until combined. Transfer frosting to a piping bag fitted with desired piping tip and frost cooled cupcakes.
For Assembly
- Top each cooled cupcake with frosting.
- Attach golden pearls to the tops of the peanut butter cups using a little bit of peanut butter to make a "pot of gold." Cut rainbow strips into smaller pieces and place on cupcakes to make "rainbows."